> ## Documentation Index
> Fetch the complete documentation index at: https://docs.a2v2.ai/llms.txt
> Use this file to discover all available pages before exploring further.
# Create an Agent
> Create, name, duplicate, and manage the AI agents in your organization.
An **agent** is a single chatbot with its own knowledge, personality, and
appearance. You manage all your agents from the **Agents** dashboard.
## Prerequisites
* A signed-in account in an organization (see [Accounts & organizations](/concepts#accounts-organizations)).
* Your plan must have an available agent slot. Need more? See
[Credits & plans](/concepts#credits).
## Create an agent
After signing in you land on the **Agents** dashboard, which lists your
agents. It's your home base for opening, creating, and managing them.
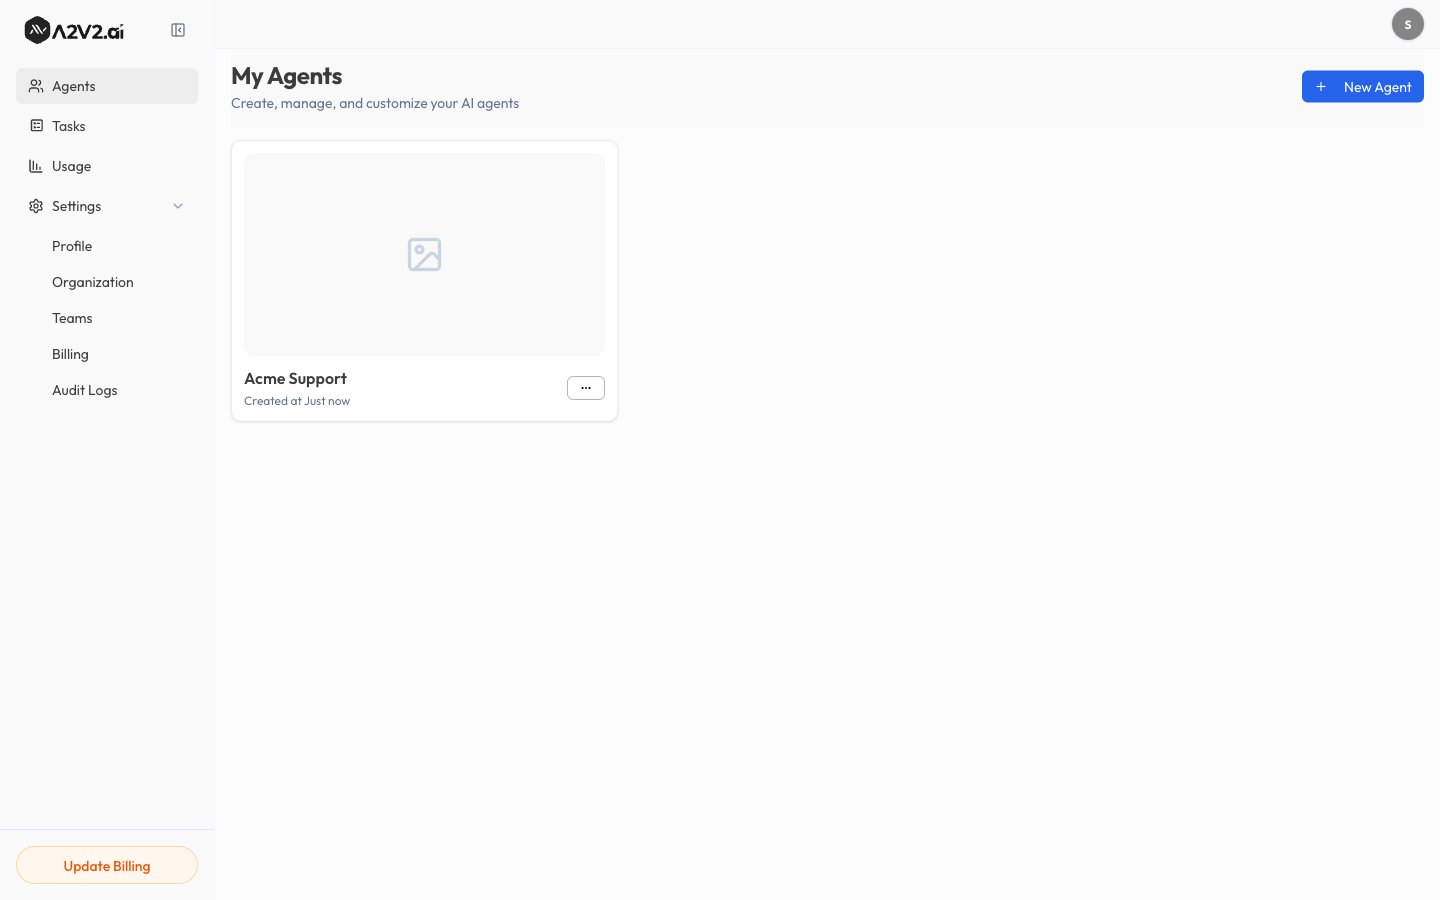 Select **New Agent**. The **Add Agent** dialog opens.
Pick the type that matches what your agent is for:
* **General Agent** — "A versatile AI assistant for general-purpose
conversations, customer support, and knowledge base queries." This is the
right choice for most use cases.
* **Medical Agent** — designed to assist patients with health-related
questions.
Enter an **Agent Name**, then select **Create**. The new agent opens on its
**Playground**, ready for you to add knowledge and test it.
Select **New Agent**. The **Add Agent** dialog opens.
Pick the type that matches what your agent is for:
* **General Agent** — "A versatile AI assistant for general-purpose
conversations, customer support, and knowledge base queries." This is the
right choice for most use cases.
* **Medical Agent** — designed to assist patients with health-related
questions.
Enter an **Agent Name**, then select **Create**. The new agent opens on its
**Playground**, ready for you to add knowledge and test it.
 The **agent type** sets the right starting point for your agent. Choose
**General Agent** unless you're specifically building a patient-facing medical
assistant.
Name agents by their job — "Support Bot", "Docs Assistant" — so they stay easy to
find as your list grows.
## Manage existing agents
From the **Agents** dashboard you can:
| Action | What it does |
| ------------- | --------------------------------------------------------------------- |
| **Open** | Enter the agent to configure knowledge, instructions, and appearance. |
| **Rename** | Change the agent's display name. |
| **Duplicate** | Create a copy with the same configuration as a starting point. |
| **Delete** | Permanently remove the agent and its data. |
Deleting an agent removes its knowledge base, conversations, and contacts. This
can't be undone.
### Duplicate an agent
Duplicating is the fastest way to spin up a variant — for example, a staging
version of a live agent. The copy starts with the original's configuration, which
you can then change independently.
## Next steps
Train the agent on your content.
Give it a persona and rules.
Set quality, speed, and cost.
Chat with your agent in the Sandbox.
The **agent type** sets the right starting point for your agent. Choose
**General Agent** unless you're specifically building a patient-facing medical
assistant.
Name agents by their job — "Support Bot", "Docs Assistant" — so they stay easy to
find as your list grows.
## Manage existing agents
From the **Agents** dashboard you can:
| Action | What it does |
| ------------- | --------------------------------------------------------------------- |
| **Open** | Enter the agent to configure knowledge, instructions, and appearance. |
| **Rename** | Change the agent's display name. |
| **Duplicate** | Create a copy with the same configuration as a starting point. |
| **Delete** | Permanently remove the agent and its data. |
Deleting an agent removes its knowledge base, conversations, and contacts. This
can't be undone.
### Duplicate an agent
Duplicating is the fastest way to spin up a variant — for example, a staging
version of a live agent. The copy starts with the original's configuration, which
you can then change independently.
## Next steps
Train the agent on your content.
Give it a persona and rules.
Set quality, speed, and cost.
Chat with your agent in the Sandbox.