> ## Documentation Index
> Fetch the complete documentation index at: https://docs.a2v2.ai/llms.txt
> Use this file to discover all available pages before exploring further.
# Forms
> Build forms with drag-and-drop, share them with a link, and review every submission against the right contact.
You want every new lead to give you the same five details — name, company, budget,
timeline, and what they're looking for — in a tidy, consistent way. **Forms** let you
build that intake form once, share it or collect it through the agent, and review each
submission attached to the right contact.
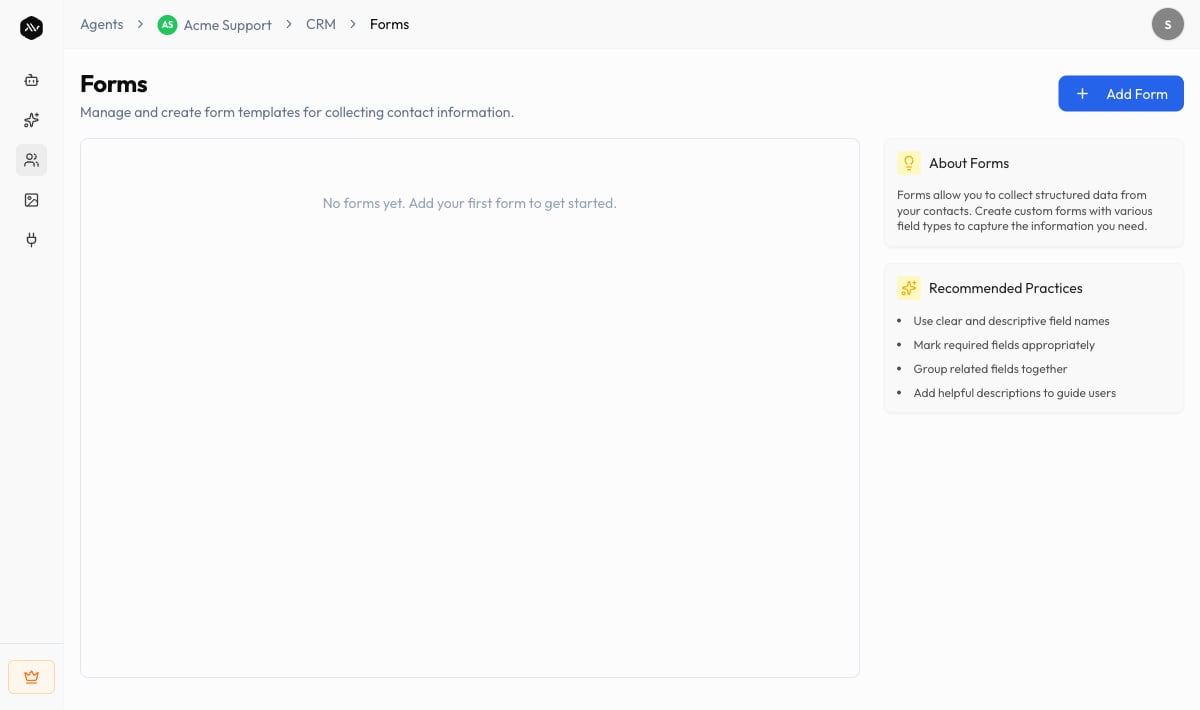
Open your agent and choose **CRM → Forms** in the sidebar. The page is titled
**Forms**, with the subtitle "Manage and create form templates for collecting contact
information."
The Forms screens — the form list, **Form Builder**, and **Form Preview** — are
**desktop only**. On a small screen you'll see a "Desktop Only" message asking you to
switch to a larger display.
## Prerequisites
* An agent (see [Create an agent](/building/create-agent)).
* The fields you want to collect in mind. Forms can reuse the same field types as your
[custom fields](/crm/custom-fields).
## How forms work
A form has two parts:
1. **A template** — the form you design once (its name, fields, and settings).
2. **Submissions** — each time someone fills the form in, a submission is recorded and
attached to a contact's **Form** tab.
## Build a form
On the **Forms** page, select **Add Form**. The **Create Form** builder opens with
the subtitle "Build a custom form to collect information from your contacts."
 In the settings panel, give the form a **Form Name** and an optional **Description**.
From the **Form Fields** palette ("Drag and drop the field type you want to add to
your form"), drag a type onto the canvas — or click **Add Field**. Available types:
**Text Field**, **Mail**, **Number**, **Check Box**, **Radio Button**, **Dropdown**,
**Calendar**, and **Description**. An empty form reads "No fields added yet."
Use **Preview Form** to see exactly how it'll look to the person filling it in. A
form needs a name and at least one field. Save to create the template.
## Form settings
| Setting | What it does |
| --------------------- | ---------------------------------------------------------------------- |
| **Form Name** | The template's name, shown in the forms list and on submissions |
| **Description** | Optional context for your team |
| **Encrypt form data** | When on, "all submission data for this form will be encrypted at rest" |
Like encrypted [custom fields](/crm/custom-fields), form encryption can't be turned off
once enabled: "Once encryption is enabled, all data submitted going forward will be
encrypted and this toggle cannot be turned off." Turn it on deliberately for forms that
collect sensitive information.
The forms list shows each template with its **Form Name**, **Category**, **Fields**
count, and **Created Date**.
## Share a form
Select **Share** on a form to get a **Share Link** — "Anyone with this link can fill out
the form." Send it by email, drop it on a landing page, or link it from your site.
Submissions come back into the CRM and attach to a contact.
## Submissions
Each completed form is a **submission**. You'll find a contact's submissions on the
**Form** tab of their [contact record](/crm/contacts). A submission is either a **Draft**
(started, not finished) or **Submitted**.
To record a submission yourself, open a contact's **Form** tab and select **Create
Submission**, then choose a template from **Select Form Template** and fill it in.
### AI File Extraction
Instead of retyping a document into a form, you can let A2V2.ai read it for you.
On a form submission, select **AI File Extraction** and upload a document (PDF, DOC,
or DOCX, up to **20MB**) — or choose one from the contact's existing files.
A2V2.ai processes the document and pre-fills the form, reporting how many fields it
extracted and with what confidence ("Form data extracted! Please review and submit").
Always review the values before submitting.
AI File Extraction shines for intake paperwork — upload a completed PDF intake sheet or
a quote and let A2V2.ai populate the matching form fields, then correct anything it
missed.
## Use cases
* **Lead intake** — a "Get a quote" form shared as a link, feeding straight into your
contacts.
* **Event or demo signup** — collect name, company, and a preferred time.
* **Document-driven onboarding** — upload a client's paperwork and let AI File
Extraction fill the form.
## Troubleshooting
Building, previewing, and managing forms is available on desktop only. Open the
agent on a larger screen.
A form needs a **Form Name** and at least one field before it can be saved. Add a
field from the palette, then save.
Extraction supports PDF and DOC/DOCX files up to 20MB. Convert or compress other
formats first.
Submissions attach to the contact they were created for. Open that contact and check
the **Form** tab; drafts appear there too, marked **Draft**.
## Related
The field types forms are built from.
Where submissions land — on the contact's Form tab.
Auto-assign and stage the contacts your forms create.
How forms fit into the wider CRM.
In the settings panel, give the form a **Form Name** and an optional **Description**.
From the **Form Fields** palette ("Drag and drop the field type you want to add to
your form"), drag a type onto the canvas — or click **Add Field**. Available types:
**Text Field**, **Mail**, **Number**, **Check Box**, **Radio Button**, **Dropdown**,
**Calendar**, and **Description**. An empty form reads "No fields added yet."
Use **Preview Form** to see exactly how it'll look to the person filling it in. A
form needs a name and at least one field. Save to create the template.
## Form settings
| Setting | What it does |
| --------------------- | ---------------------------------------------------------------------- |
| **Form Name** | The template's name, shown in the forms list and on submissions |
| **Description** | Optional context for your team |
| **Encrypt form data** | When on, "all submission data for this form will be encrypted at rest" |
Like encrypted [custom fields](/crm/custom-fields), form encryption can't be turned off
once enabled: "Once encryption is enabled, all data submitted going forward will be
encrypted and this toggle cannot be turned off." Turn it on deliberately for forms that
collect sensitive information.
The forms list shows each template with its **Form Name**, **Category**, **Fields**
count, and **Created Date**.
## Share a form
Select **Share** on a form to get a **Share Link** — "Anyone with this link can fill out
the form." Send it by email, drop it on a landing page, or link it from your site.
Submissions come back into the CRM and attach to a contact.
## Submissions
Each completed form is a **submission**. You'll find a contact's submissions on the
**Form** tab of their [contact record](/crm/contacts). A submission is either a **Draft**
(started, not finished) or **Submitted**.
To record a submission yourself, open a contact's **Form** tab and select **Create
Submission**, then choose a template from **Select Form Template** and fill it in.
### AI File Extraction
Instead of retyping a document into a form, you can let A2V2.ai read it for you.
On a form submission, select **AI File Extraction** and upload a document (PDF, DOC,
or DOCX, up to **20MB**) — or choose one from the contact's existing files.
A2V2.ai processes the document and pre-fills the form, reporting how many fields it
extracted and with what confidence ("Form data extracted! Please review and submit").
Always review the values before submitting.
AI File Extraction shines for intake paperwork — upload a completed PDF intake sheet or
a quote and let A2V2.ai populate the matching form fields, then correct anything it
missed.
## Use cases
* **Lead intake** — a "Get a quote" form shared as a link, feeding straight into your
contacts.
* **Event or demo signup** — collect name, company, and a preferred time.
* **Document-driven onboarding** — upload a client's paperwork and let AI File
Extraction fill the form.
## Troubleshooting
Building, previewing, and managing forms is available on desktop only. Open the
agent on a larger screen.
A form needs a **Form Name** and at least one field before it can be saved. Add a
field from the palette, then save.
Extraction supports PDF and DOC/DOCX files up to 20MB. Convert or compress other
formats first.
Submissions attach to the contact they were created for. Open that contact and check
the **Form** tab; drafts appear there too, marked **Draft**.
## Related
The field types forms are built from.
Where submissions land — on the contact's Form tab.
Auto-assign and stage the contacts your forms create.
How forms fit into the wider CRM.