Prerequisites
- A signed-in account in an organization (see Accounts & organizations).
- Your plan must have an available agent slot. Need more? See Credits & plans.
Create an agent
Open the Agents dashboard
After signing in you land on the Agents dashboard, which lists your
agents. It’s your home base for opening, creating, and managing them.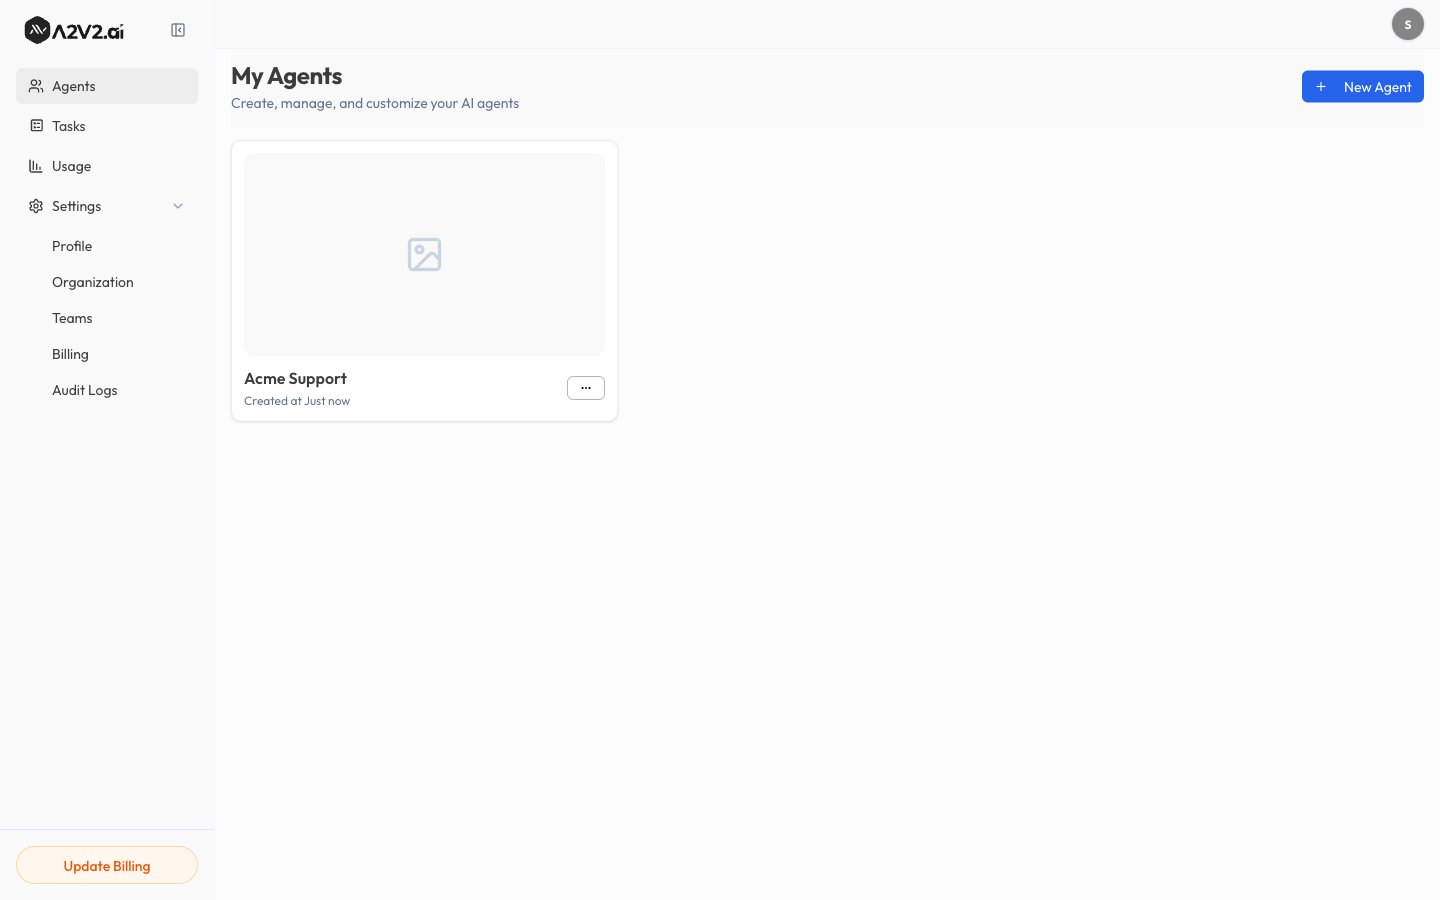
Choose an agent type
Pick the type that matches what your agent is for:
- General Agent — “A versatile AI assistant for general-purpose conversations, customer support, and knowledge base queries.” This is the right choice for most use cases.
- Medical Agent — designed to assist patients with health-related questions.

The agent type sets the right starting point for your agent. Choose
General Agent unless you’re specifically building a patient-facing medical
assistant.
Manage existing agents
From the Agents dashboard you can:| Action | What it does |
|---|---|
| Open | Enter the agent to configure knowledge, instructions, and appearance. |
| Rename | Change the agent’s display name. |
| Duplicate | Create a copy with the same configuration as a starting point. |
| Delete | Permanently remove the agent and its data. |
Duplicate an agent
Duplicating is the fastest way to spin up a variant — for example, a staging version of a live agent. The copy starts with the original’s configuration, which you can then change independently.Next steps
Add knowledge
Train the agent on your content.
Write instructions
Give it a persona and rules.
Choose a model
Set quality, speed, and cost.
Test it
Chat with your agent in the Sandbox.