API Permissions is desktop-only. Open it on a larger screen — on mobile A2V2.ai
shows a “Desktop Only” notice for this feature.
Prerequisites
- An agent (see Create an agent).
- A place to store the key securely (a secrets manager or your app’s environment), since a key grants programmatic access to your data.
How keys and permissions work
Each API key carries its own set of permissions across two areas — Contact Access and Document Extraction Access — and you choose which actions it can perform. A2V2.ai recommends granting only the permissions an integration actually needs and revoking keys you no longer use.| Access area | What it covers |
|---|---|
| Contact Access | Reading and writing your CRM contacts over the API |
| Document Extraction Access | Programmatic document extraction operations |
| Permission | What it allows |
|---|---|
| Create | Add new records |
| Read | Retrieve existing records |
| Update | Change existing records |
| Delete | Remove records |
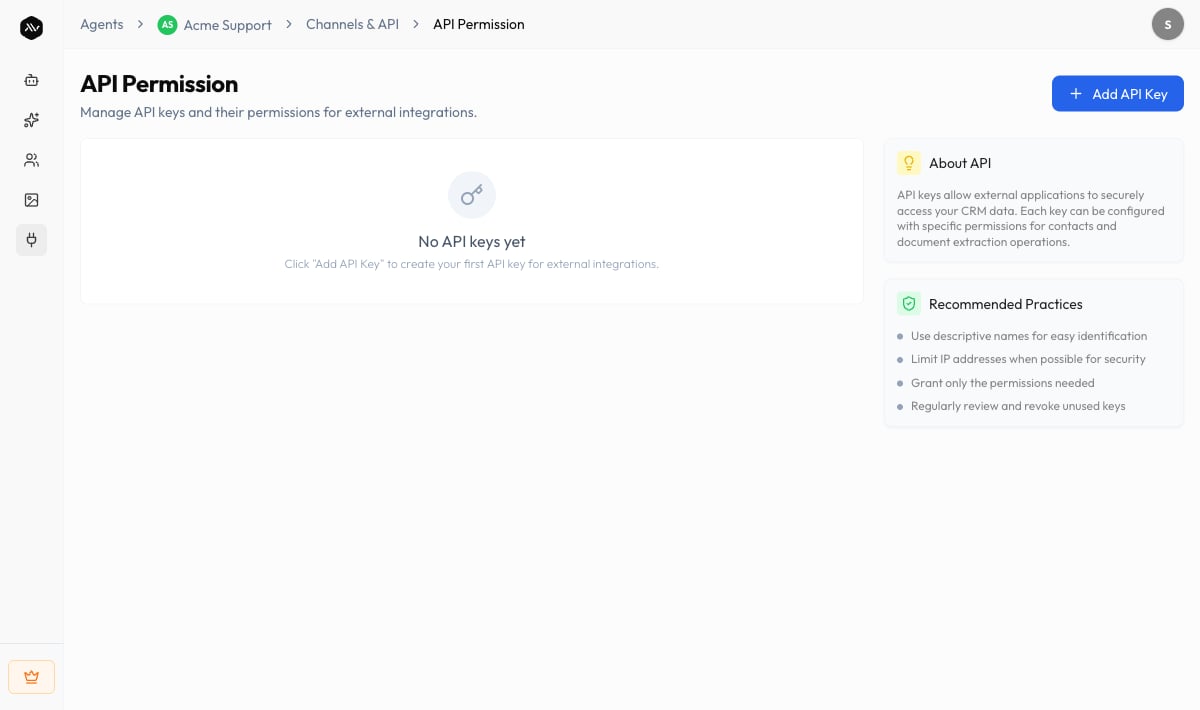
Create an API key
Enter basic information
This is Step 1 of 2 — Enter basic information. Give the key a Name (up to 100
characters) and an optional Description (up to 500 characters). You can also enter
one or more comma-separated IP Address values to restrict which addresses may use
the key (for example 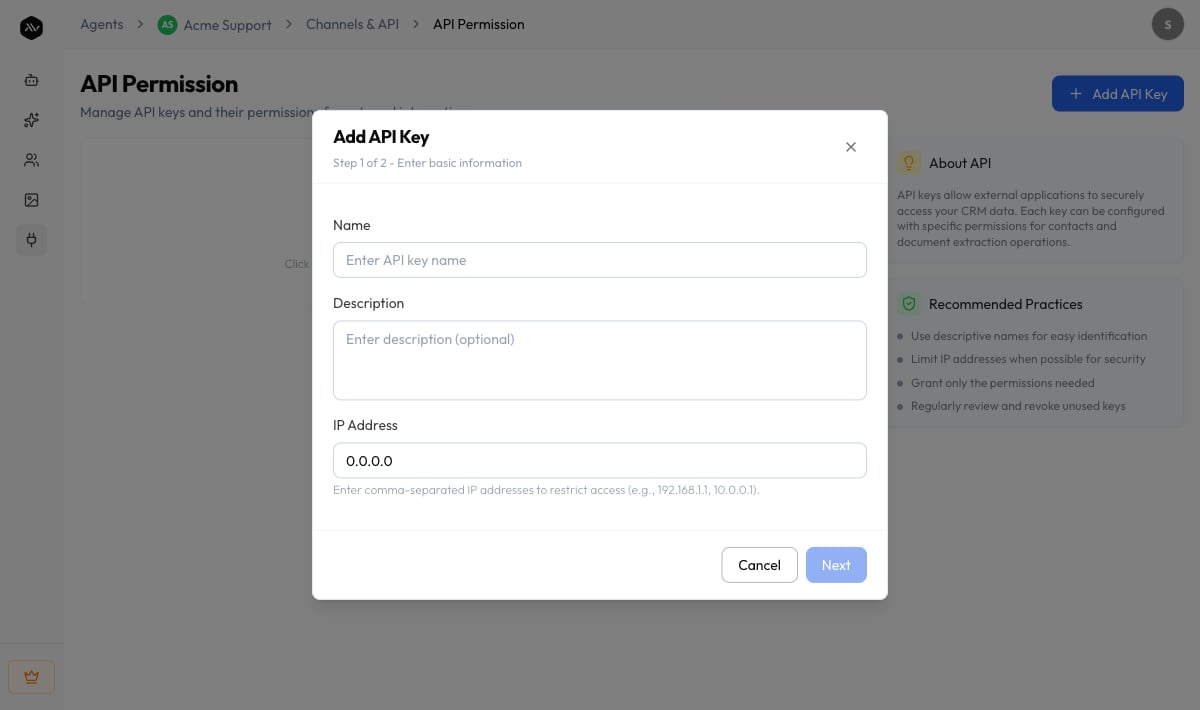
192.168.1.1, 10.0.0.1). Select Next.Configure permissions
On Step 2 of 2 — Configure permissions, choose the Create / Read / Update /
Delete actions you want under Contact Access and Document Extraction Access.
Then select Give Access. You’ll see “API key created successfully.”
The keys list
Each key appears as a row with these columns:| Column | What it shows |
|---|---|
| Name | The name you gave the key |
| Access | Badges for what the key can reach — Contacts and/or Documents (or No access) |
| Created | When the key was created |
Edit or delete a key
- Edit a key to rename it, change its description or IP restrictions, or adjust its permissions. Saving shows “API key updated successfully.”
- Delete a key to revoke it. The confirmation warns that the key is permanently deleted and “Any applications using this key will lose access.”
Troubleshooting
The page shows a 'Desktop Only' message
The page shows a 'Desktop Only' message
API Permissions is available on desktop only. Open A2V2.ai on a larger screen to
create or manage keys.
My integration gets denied even though the key is valid
My integration gets denied even though the key is valid
Check two things: the key must include the permission for the action you’re
making (Create / Read / Update / Delete in the right access area), and if you set IP
Address restrictions, the request must come from a listed address.
I lost the key value
I lost the key value
Copy it again from the key’s row with Copy API Key. If you can’t use it, delete
the key and create a new one, then update your integration.
Related
Contacts
The CRM data your Contact Access keys read and write.
Embed & install
Add the agent to your site with the chat bubble or iframe.
Members & roles
Control who on your team can manage the workspace.
Audit logs
Track activity across your organization.