The Fields screen is desktop only. On a small screen you’ll see a “Desktop Only”
message asking you to switch to a larger display.
Prerequisites
- An agent (see Create an agent).
- A team member with access to the agent’s CRM.
Add a field
Open Fields
Go to CRM → Settings and select Add Field. With none yet, the page reads “No
custom fields yet.”
Name and describe it
In the Add Field dialog, enter a Field Name (up to 50 characters) and an
optional Description.
Pick a field type
Choose a Field Type (see the table below). Depending on the type, you’ll set
extra options — a Max Length for text, Min Value / Max Value for numbers,
or Options (one per line) for dropdowns and radio buttons. You can also set a
Default Value.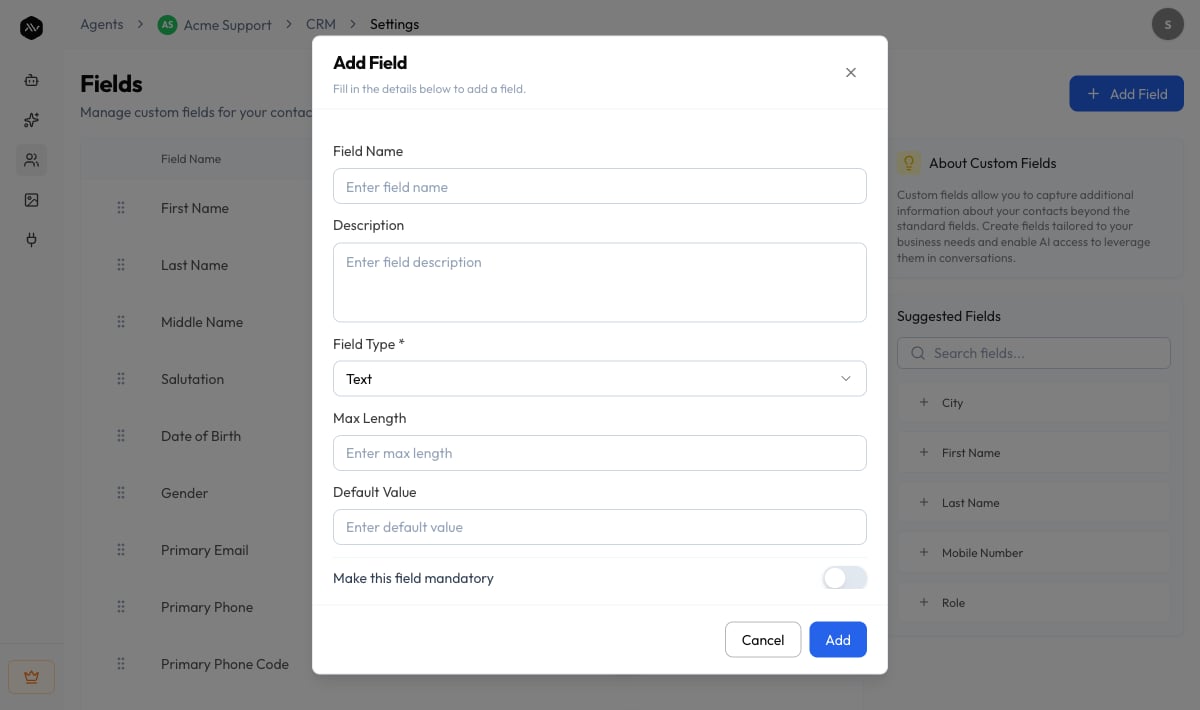
Field types
| Type | Use it for |
|---|---|
| Text | Short free text (a reference, a label) |
| Text Area | Longer free text (a description, an address) |
| An email address, validated as you type | |
| Number | Numeric values, with optional min and max |
| Date | A calendar date |
| Checkbox | A yes/no or true/false value |
| Radio Button | One choice from a fixed list |
| Dropdown | One choice from a fixed list, in a compact selector |
What the columns mean
On the Fields table you’ll see:| Column | What it shows |
|---|---|
| Field Name | The label you gave the field |
| Internal Name | The system name used in the API and integrations |
| Type | The field type from the table above |
| Allow for AI | Whether the agent can use this field in conversations |
| Encrypted | Whether values are encrypted at rest |
Allow for AI
This is what makes custom fields powerful. When Allow for AI is on, your agent can read and capture that field during a conversation — so if a visitor mentions their city or company, the agent records it on their contact automatically. Fields with AI access turned off are still useful for your team to fill in manually, but the agent won’t touch them.Encrypted fields
For sensitive information, you can encrypt a custom field so its values are stored encrypted at rest.Use cases
- Lead qualification — add Company, Team size, and Budget fields with Allow for AI on, and let the agent qualify leads as it talks to them.
- Booking context — capture a Preferred date or Service so follow-up is faster.
- Segmentation — a City or Plan dropdown lets you sort and filter your contacts later.
Troubleshooting
The agent isn't capturing a field
The agent isn't capturing a field
Confirm the field has Allow for AI enabled. The agent only fills in fields that
are AI-enabled, and it needs the visitor to actually mention the information in chat.
I can't turn off encryption
I can't turn off encryption
That’s expected. Once enabled, field encryption can’t be disabled. If you no longer
need the field, delete it and create a new, unencrypted one.
The Fields screen says Desktop Only
The Fields screen says Desktop Only
Field management is available on desktop only. Open the agent on a larger screen to
add or edit fields.
Related
Contacts
See your custom fields in action on a contact record.
Forms
Build forms that collect structured information from contacts.
Automations
Auto-assign owners and stages to new contacts.
CRM overview
How the pieces of the CRM fit together.