

Prerequisites
- An agent (see Create an agent).
- To feature videos, add them to your YouTube knowledge base first — the page pulls from there.
Create your Micro Landing Page
1
Open Micro Landing Page
In the agent sidebar, go to Agent UI → Micro Landing Page.
2
Create the page
Confirm Create when prompted. Creating a micro landing page gives you a hosted
profile you can use to build a portfolio or bio and connect with your audience.
3
Add your header and bio
Under Header, set up the top of the page:
- Profile Picture — upload a JPG, PNG, or SVG (up to 5MB). This is the round avatar at the top of the page.
- Display Name — the name shown for your agent or brand.
- Bio — a short introduction, up to 160 characters. A live character count helps you stay within the limit.
4
Add your sections
Build out the page using the section tabs — YouTube, Quick Links,
Socials, and Products. Add only the ones you need. Each section has its own
editable Title for the Section, so you can label them however you like (for
example, rename “Products” to “Shop my courses”).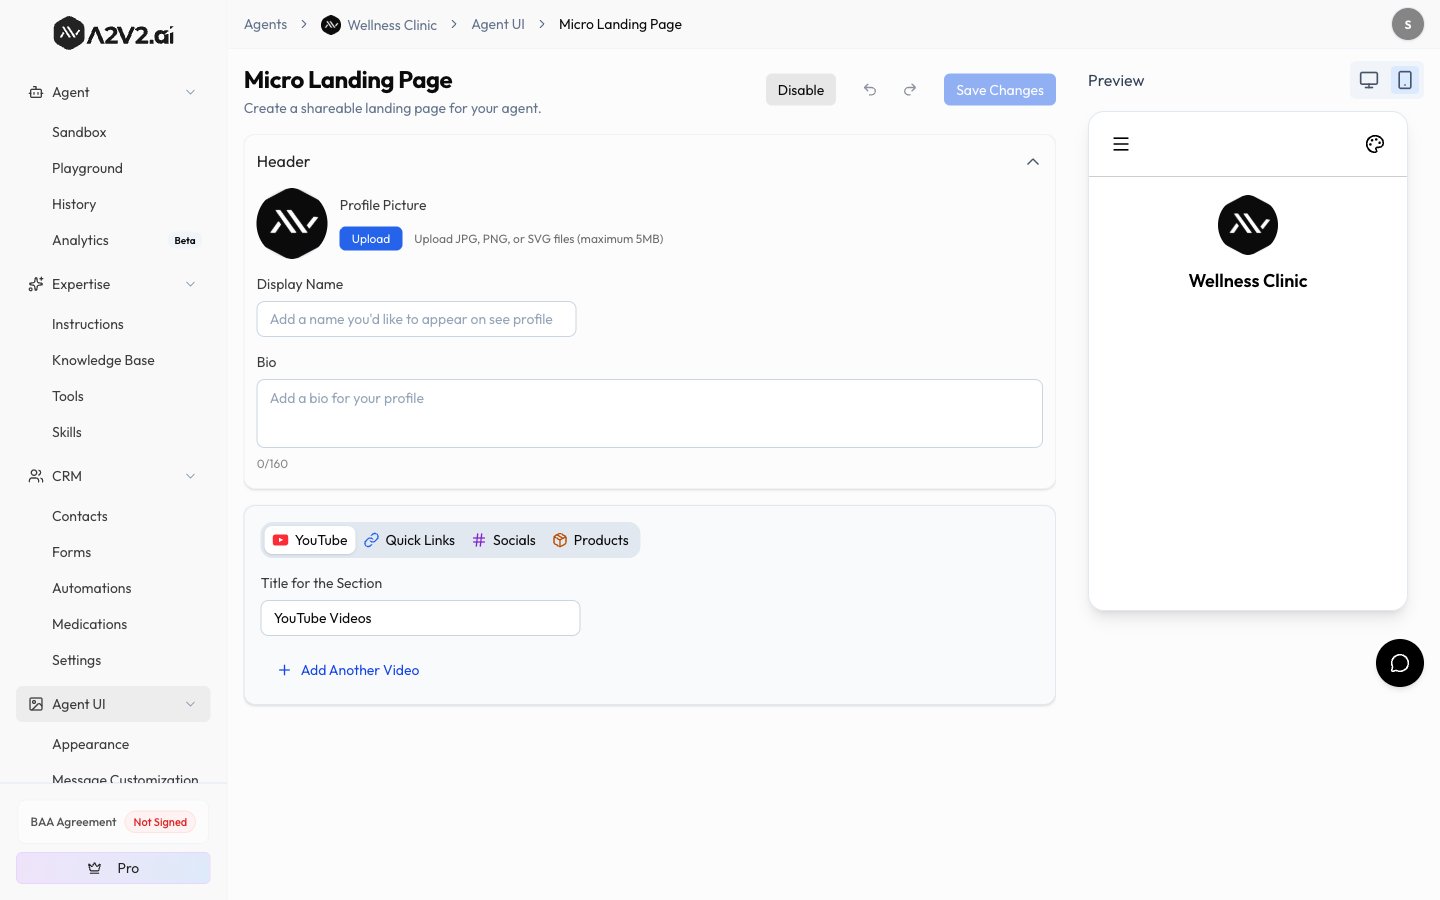
5
Preview and enable
Use the live Preview to check how the page looks — switch between desktop
and mobile views to confirm it works on both. As you edit, use Save to keep
changes and Undo / Redo to step back and forth. When you’re happy, turn on
Enable Micro landing Page so it’s visible to visitors. Use Disable to hide
the page again anytime — your content is kept, so you can re-enable it later.
6
Share the link
Share your page’s link wherever your audience is — link-in-bio, email signature,
social posts, or a QR code.
Sections reference
Each section is optional. Mix the ones that fit how you want to present your agent.The YouTube section pulls from videos you’ve already added to your
YouTube knowledge base. Add the videos there first, then
select them here.
Build each section
Every section starts with a Title for the Section you can rename. Here’s what each one adds and the options it offers.YouTube
Feature videos in a grid, each with its own title. Use Select Video From Knowledge Base to pick videos you’ve already added, then give each a Title for the Video. Use Add Another Video to keep going. Because the videos come from your knowledge base, visitors can open one and chat about that specific video.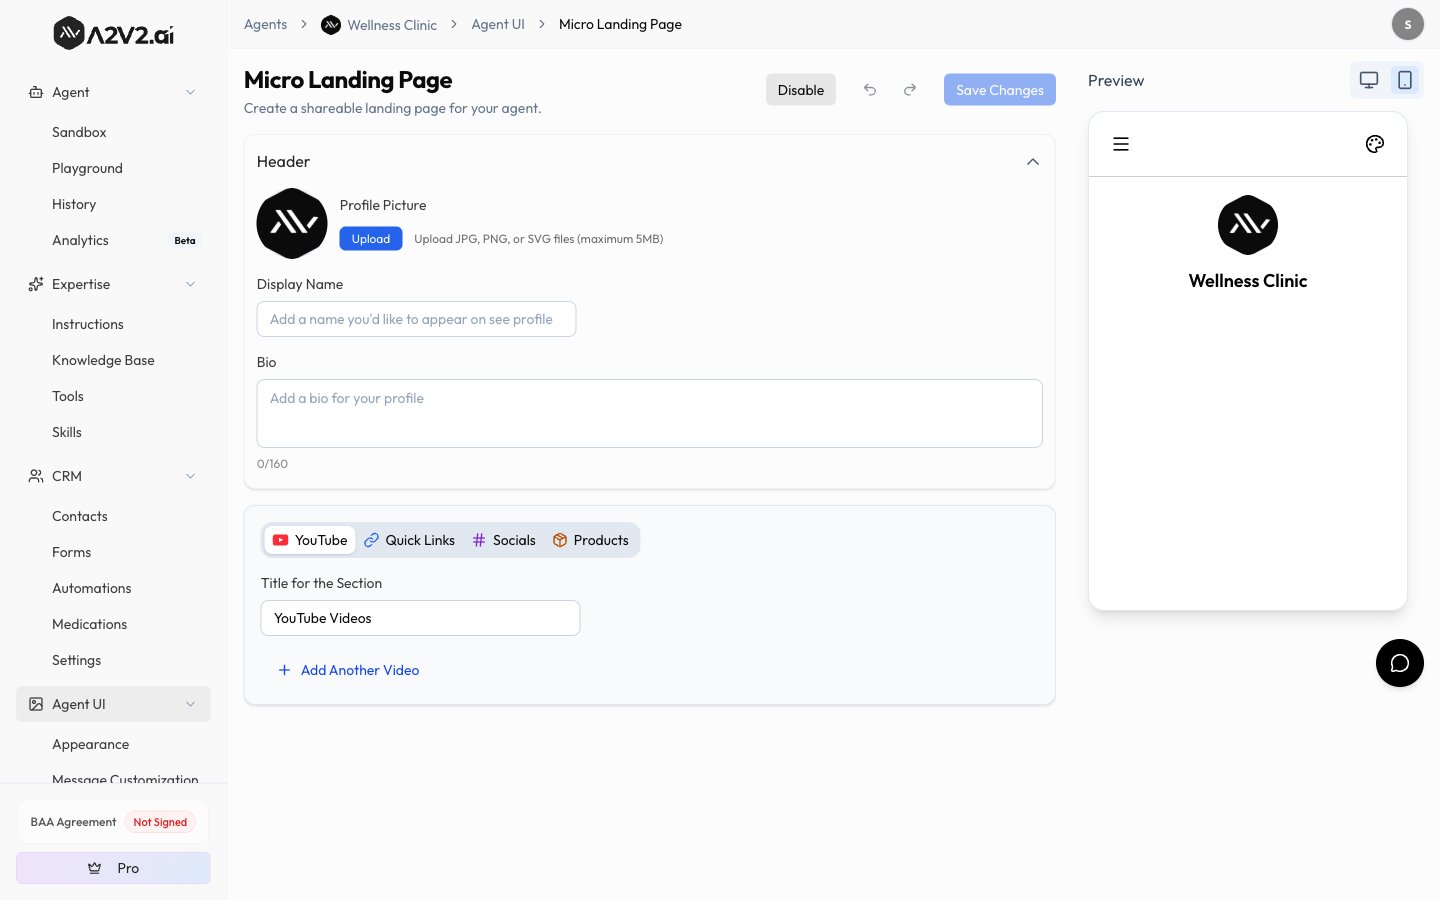
Quick Links
Point visitors to any URL — a booking page, a newsletter, a resource. Each link has a Title for the link and a URL. Turn on Include the Thumbnail Image to show a picture beside each link (upload a JPG, PNG, or SVG); leave it off for a clean text-only list. Use Add Another Link to add more.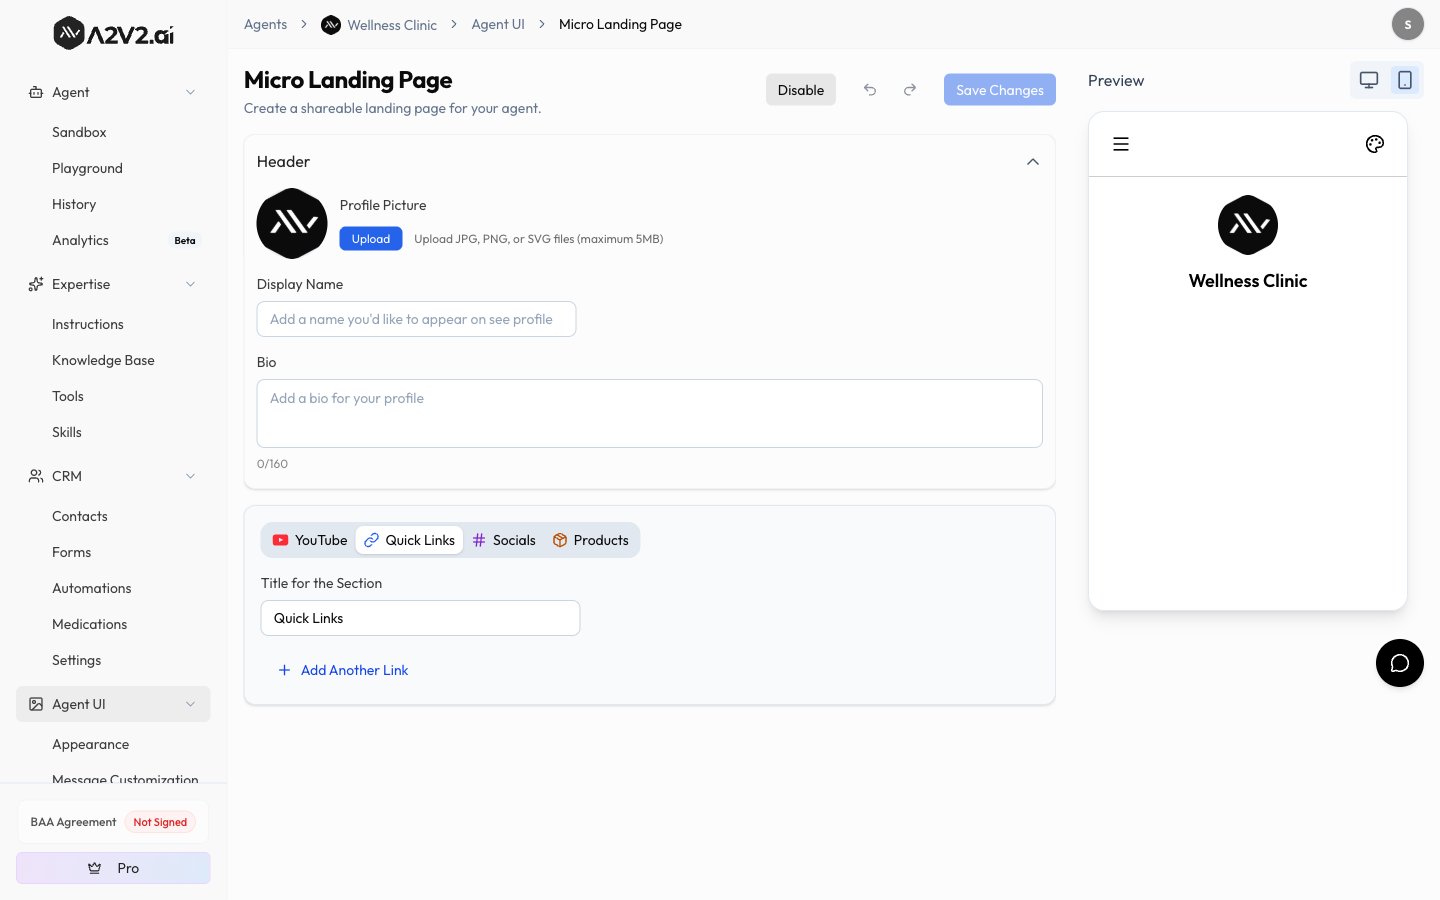
Products
Showcase products or offers in a grid. Each product has a Title for the Product and a URL that opens when tapped. Like Quick Links, an Include the Thumbnail Image toggle lets you add a product image (JPG, PNG, or SVG). Use Add Another Product to build out the grid.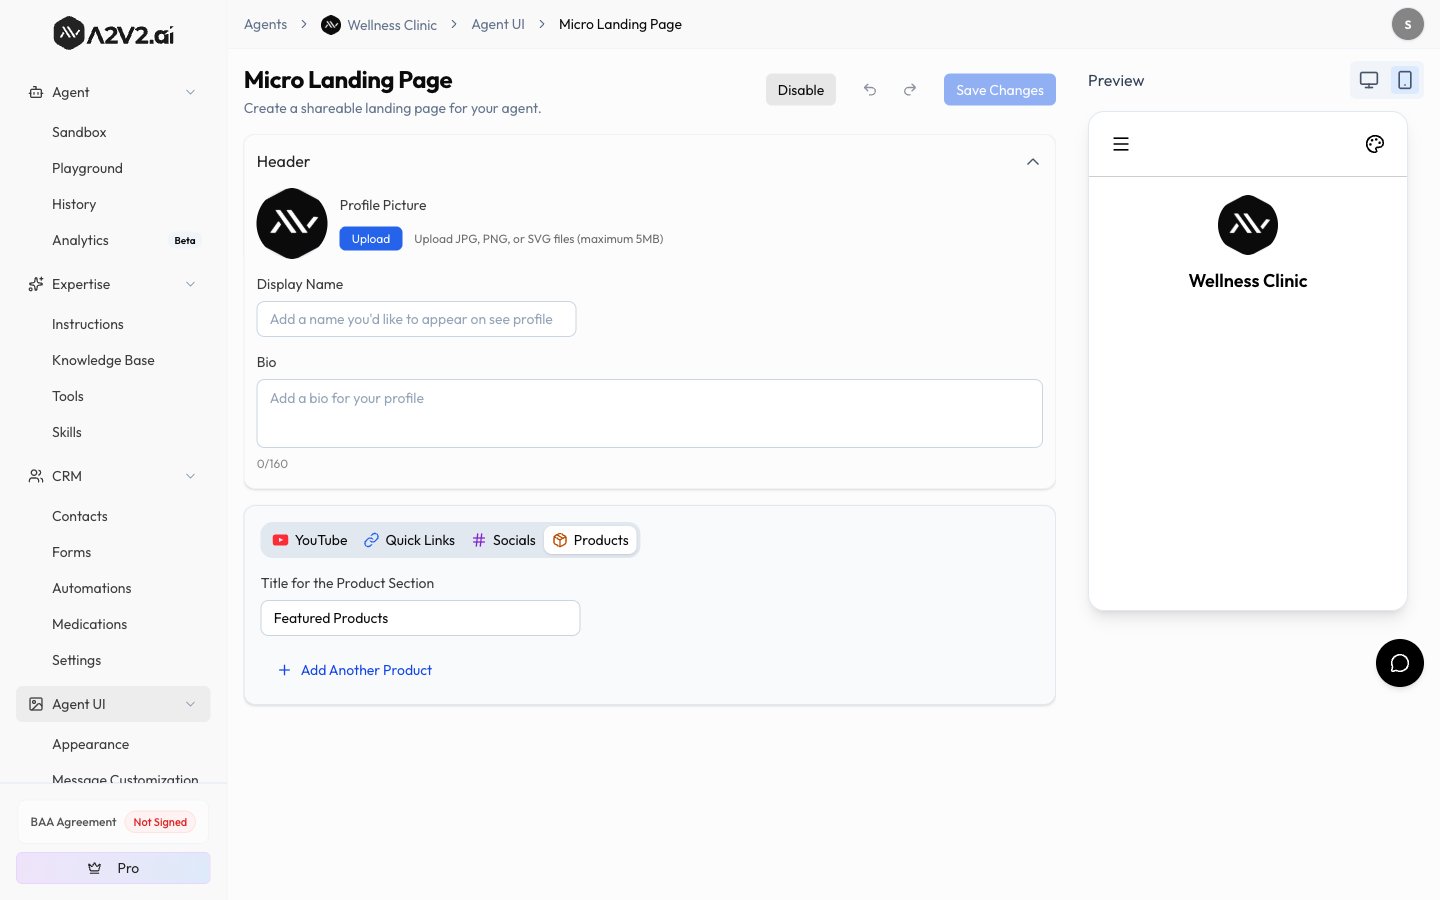
Socials
Link out to your profiles. First turn on Do you want to show your socials, then add each profile by choosing a platform — Facebook, Twitter/X, Instagram, LinkedIn, or TikTok — and pasting the profile link. Use Add Another Social for more. The page shows a button for each one.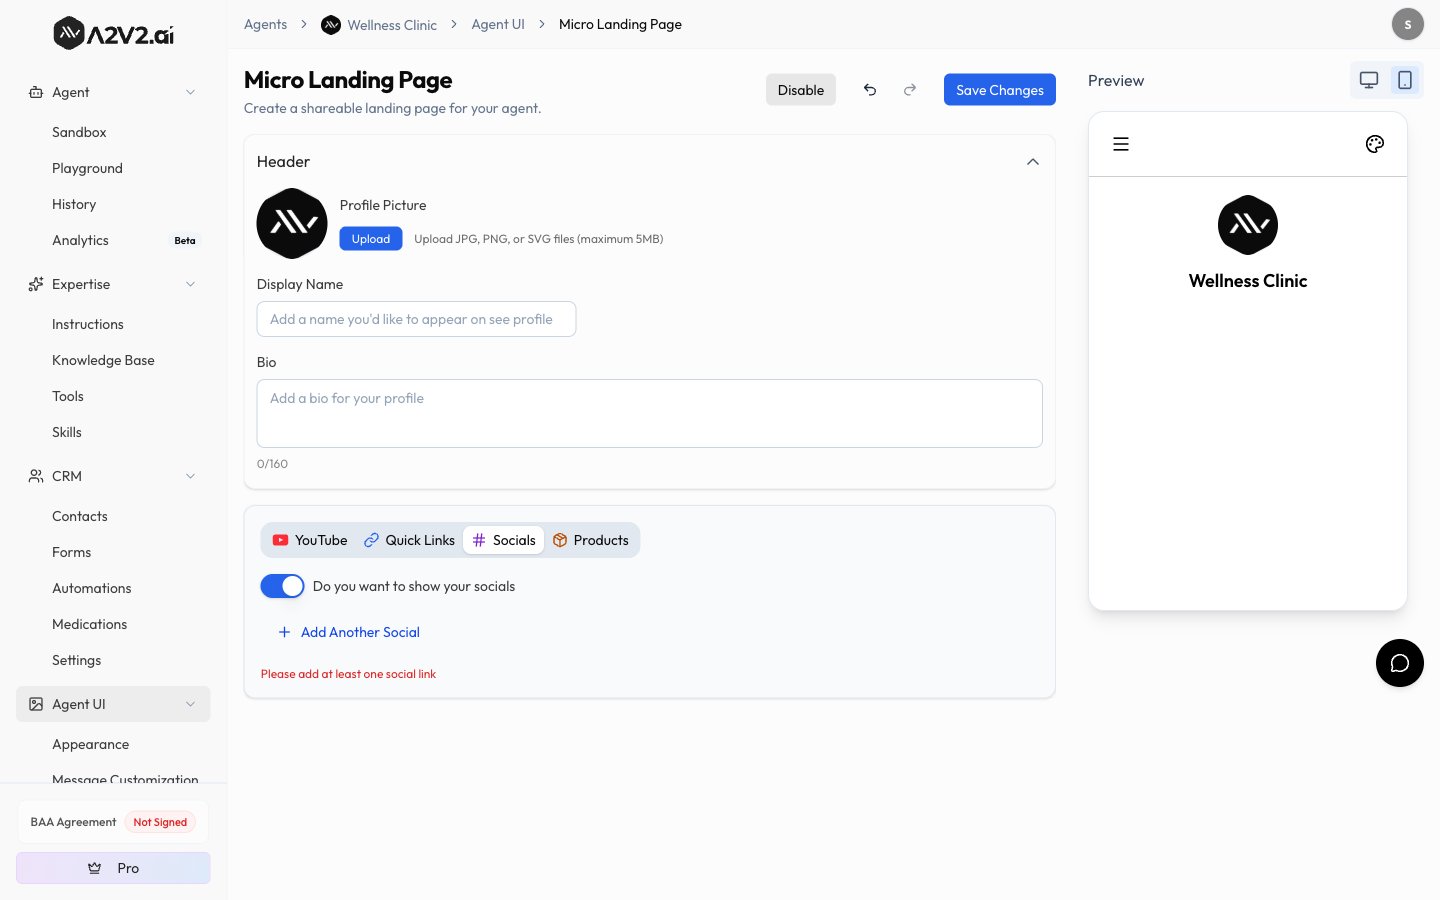
Chat from the page
The Micro Landing Page isn’t just a static profile — your agent is built in, so visitors can ask a question right from the page. Because the page can feature your YouTube videos, a visitor can also open a video and chat about that specific video, turning your content into something they can ask questions about.Tips
Troubleshooting
My YouTube videos don't appear in the picker
My YouTube videos don't appear in the picker
The YouTube section only lists videos that are already in your
YouTube knowledge base. Add the videos there and wait
for them to finish processing, then select them on the Micro Landing Page.
Visitors can't see my page
Visitors can't see my page
Confirm Enable Micro landing Page is turned on. Disabling it hides the page
from everyone — you can re-enable it anytime without losing your content.
MLP vs. embedding — which should I use?
MLP vs. embedding — which should I use?
Use a Micro Landing Page when you want a standalone, shareable page and don’t
have a site to embed on. Use Embed & install when you want the
agent to live on a website you already own. You can do both.
Related
Appearance
Brand the page’s colors and avatar to match you.
Embed & install
Prefer to add your agent to your own website instead.
YouTube knowledge
Add the videos the page features.
Message customization
Set the welcome message and suggested questions.