

Prerequisites
- You must be an Owner or Admin to invite or manage members.
- Team seats depend on your plan. The Free tier shows No Teams Option; paid plans include a set number of members (for example “Up to 3 team members”), and you can buy more with the Team Member add-on.
The three roles
A2V2.ai uses three organization roles. Pick the lowest one that lets a person do their job.Who can assign what. Only the Owner can invite someone as an Admin or
promote a member to Admin — Admins can invite Users only. An Admin can edit or
remove Users, but not other Admins or the Owner. No one can manage the Owner from this
screen.
Invite a team member
1
Open Teams
From the dashboard sidebar, select Settings → Teams, then New Member.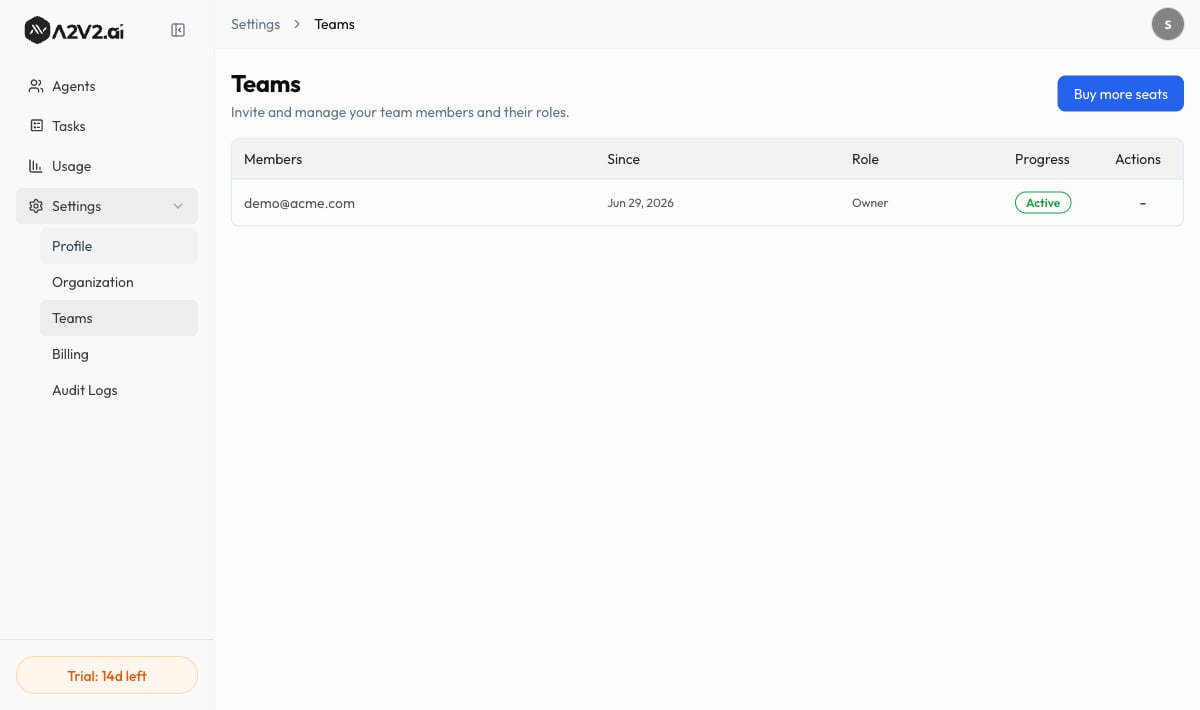
2
Enter their email and role
In the Invite Team Member dialog, type the member’s email (for example
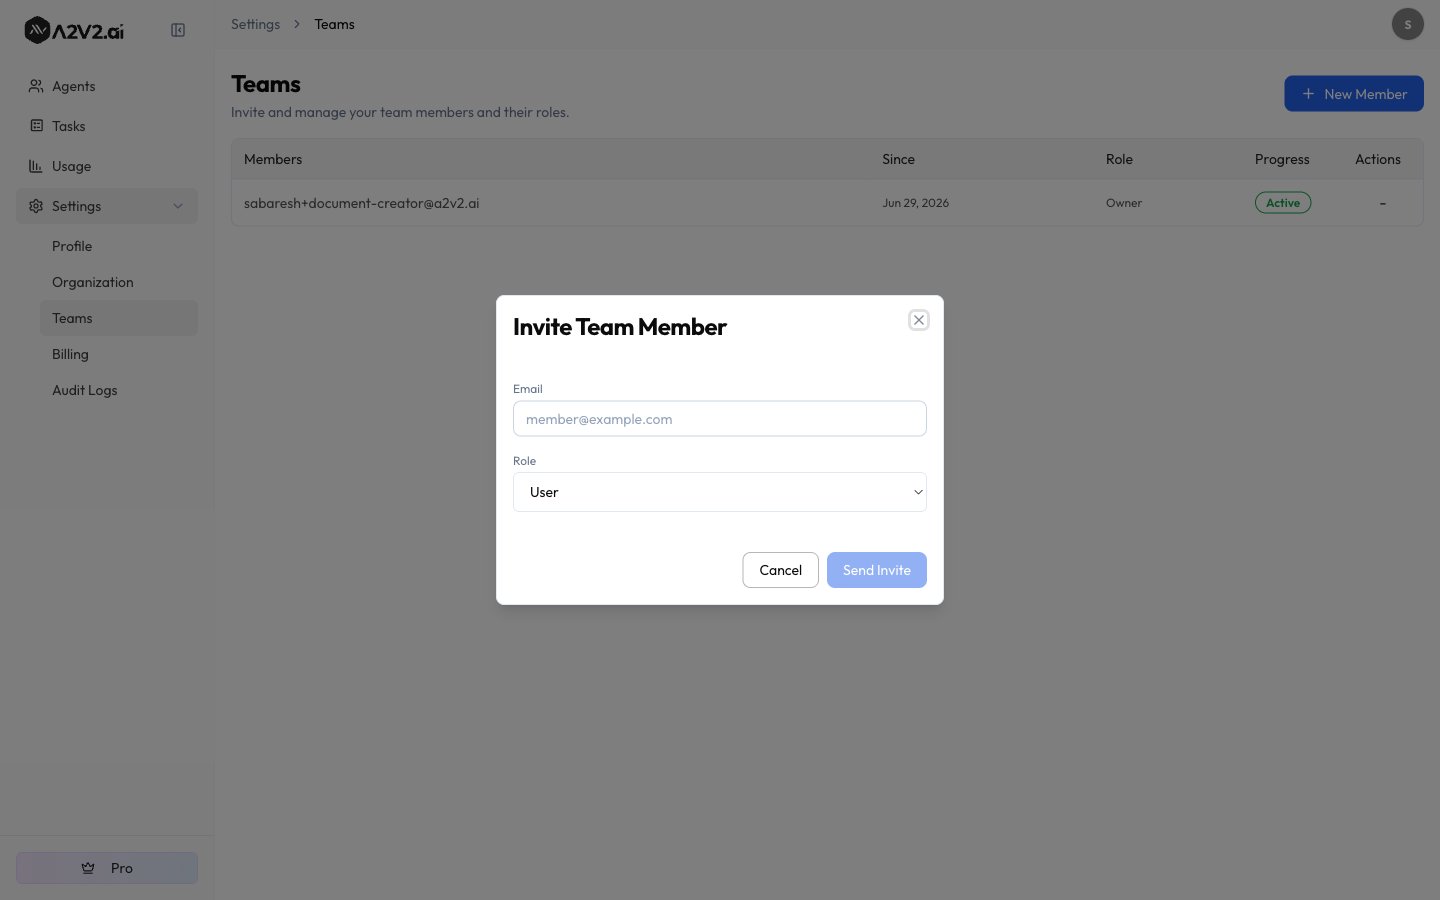
member@example.com) and choose a Role. Owners can pick Admin or User;
Admins can pick User.3
Send the invite
Select Send Invite. You’ll see “Invitation sent successfully.” The person gets an
email invitation; once they accept, they join your organization with the role you chose.
The team list
Each member or pending invite appears as a row with these columns:
Before you add anyone, the list reads “No team members yet.”
Manage a member
From a member’s row, an Owner or Admin can:- Edit Role — open Edit Member Role, change the role, and Update Role. You’ll see “Role updated successfully.”
- Delete Invite — cancel a pending invitation that hasn’t been accepted (“Invitation deleted”).
- Remove a member — take them out of the organization (“Member removed”).
Running out of seats
If you’re at your plan’s member limit, the button reads Buy more seats or Upgrade to use team instead of New Member. Add capacity with the Team Member add-on, or move to a plan with more included members on the Plans page. Billing changes are Owner-only.Troubleshooting
I can't choose the Admin role when inviting
I can't choose the Admin role when inviting
Only the Owner can invite or promote someone to Admin. As an Admin you can
invite Users only. Ask your Owner to grant the Admin role.
I can't edit or remove another Admin
I can't edit or remove another Admin
Admins can manage Users only. Managing another Admin (or the Owner) is reserved
for the Owner.
An invited teammate hasn't appeared as active
An invited teammate hasn't appeared as active
Their invite is pending until they accept it from the email. Check the Progress
column, and re-send by deleting the invite and inviting again if needed.
Related
Team Member add-on
Add more seats when your plan runs out.
Plans
Compare how many members each plan includes.
Audit logs
See what every member has been doing.
Organization
Name the workspace your team shares.